After several weeks of silence from my side, I want to share with you my very first time-lapse video I made out of the pictures when shooting the Joker campaign. The pictures and a blog article about the shoot will come soon (I hope :) ).

Using a window as a light diffuser
I particularly like soft and nicely diffused natural light during most of the photo shoots (unless I decide that hard light is what I need for a particular shoot) and I use windows as light diffusers more and more often.

At every location and photo shoot, I like to firstly look around to see how I can make use of the available light and if there are any natural light-modifiers on the set already (I learned this from Bert Stephani). There can be various 'natural' light modifiers on location, like reflectors (light bouncing from the walls) or light diffusers. The pictures present the effect of the latter type and how a big window as a light diffuser was my best friend in my recent photo shoot.
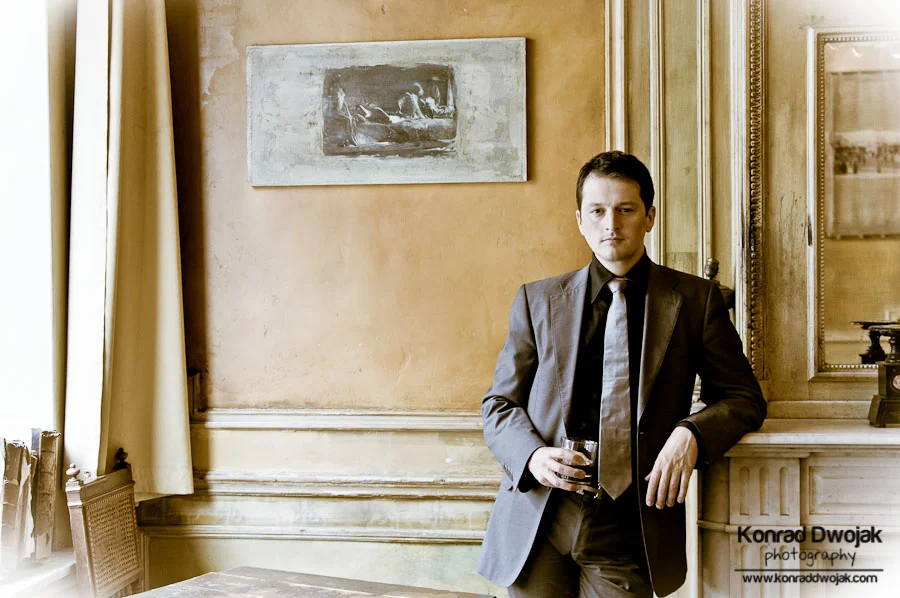
I noticed a really big window just next to the entrance when shooting at the Malte Restaurant in Brussels (Belgium) recently. Without much thinking I decided to (gently) drop all my light equipment I had with me and to use only the soft natural light from the big window which acted as a huge light diffuser. Unfortunately, you don't see the window on the pictures, but you can clearly see the diffused light and the overall effect.
Believe it or not but I didn't use any additional light sources, reflectors or similar for the shots. I'm particularly happy with the effect that the big window gave me as a light diffuser and it would take quite some time to achieve the same effect and results with artificial light and extra diffusers. That's why I research the environment for natural light and 'natural' light modifiers before shooting on location.
Last but not least, I would like to thank very much the owner of the Malte Restaurant in Brussels for letting us to use their premises for the photo shoot. You should definitely visit the place for the great food and ambient atmosphere, or at least to check out their big window to see how nicely it diffuses the light :)


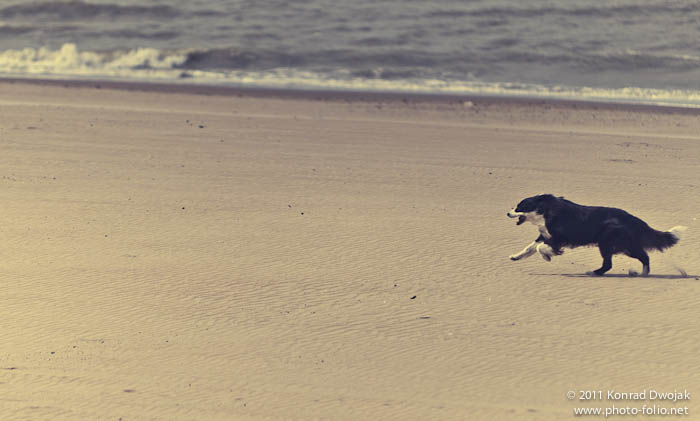
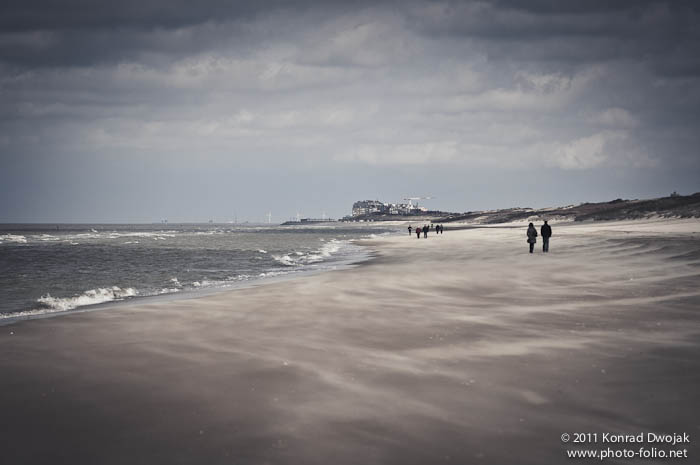
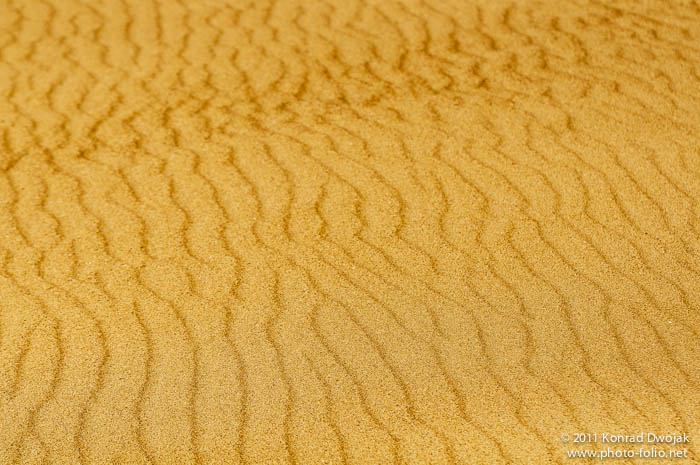
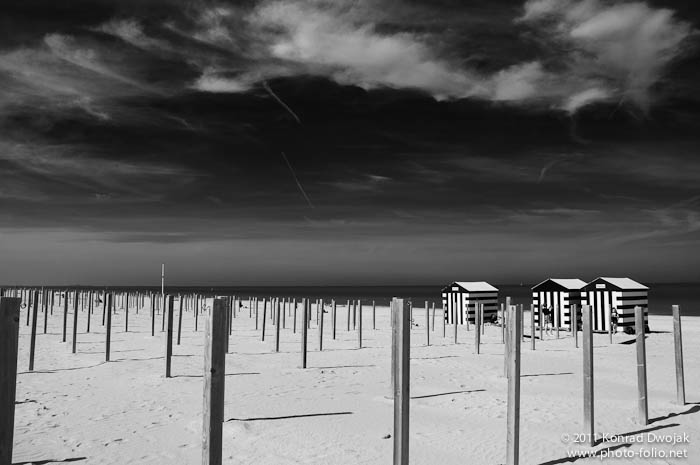
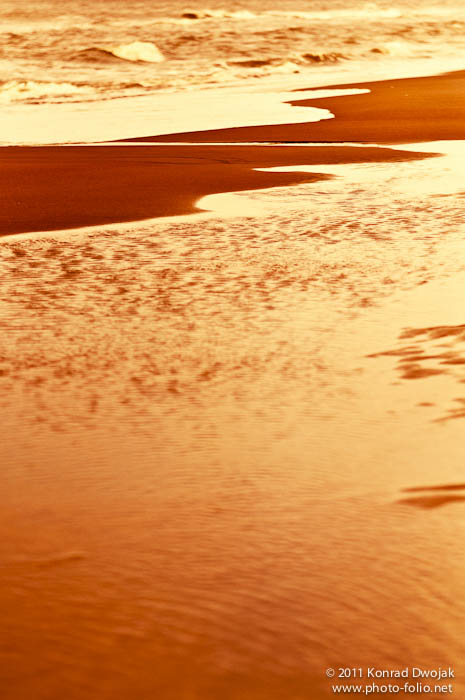
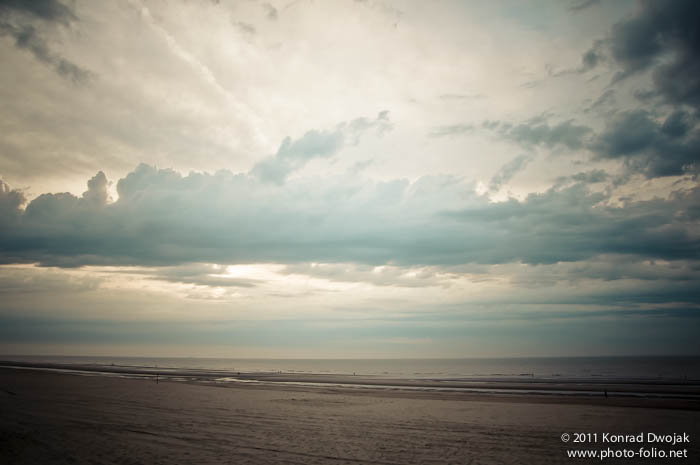
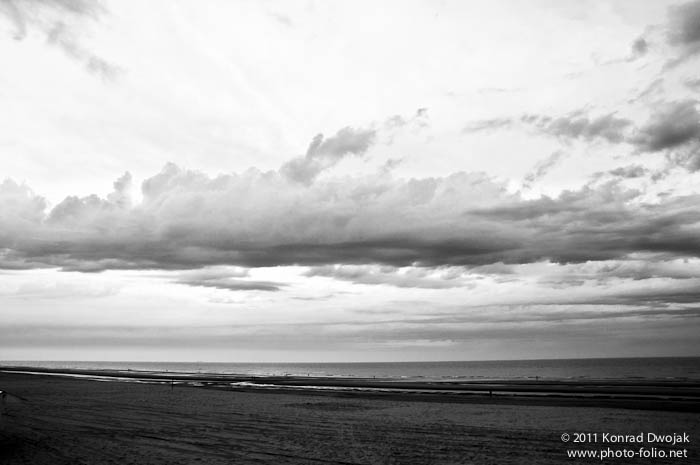
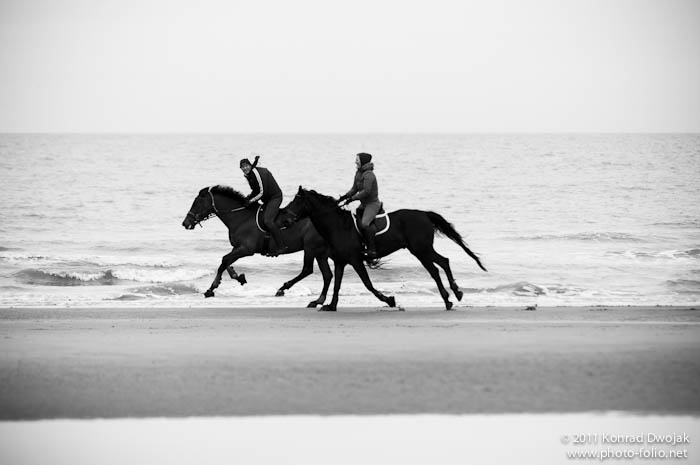
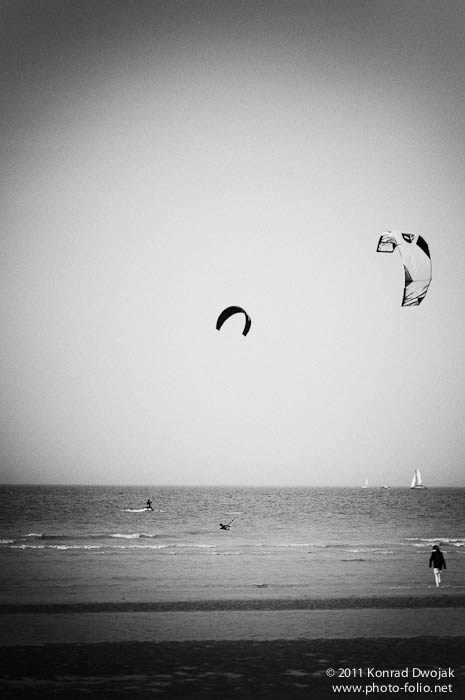
Short Get Away to the Belgian Coast & De Haan
Fresh breeze, smell of the sea and getting away from the busy city streets even for 3 days are for me a good inspiration and a already nice holidays. That's what I did at the end of March 2011 by going to the Belgian coast to De Haan city. Although I was raised and spent most of my youth in a city very close to the seaside, I haven't had much chance to see the sea often lately as I spent much time in Brussels (probably too much :) ).
Belgian_Coast_De_Haan-1
Belgian_Coast_De_Haan-5
Belgian_Coast_De_Haan-2
Belgian_Coast_De_Haan-7
Those 3 days were perfect for me not only for 'recharging my batteries' but also to get some photography inspiration - the fresh sea breeze can work its magic. The weather was perfect. It was a bit windy but taking under consideration that it was only the end of March and the very beginning of spring in Belgium, it was just perfect.
Belgian_Coast_De_Haan-3

Belgian_Coast_De_Haan-4

Belgian_Coast_De_Haan-9
Belgian_Coast_De_Haan-10
Belgian_Coast_De_Haan-11
Belgian_Coast_De_Haan-12
Belgian_Coast_De_Haan-8

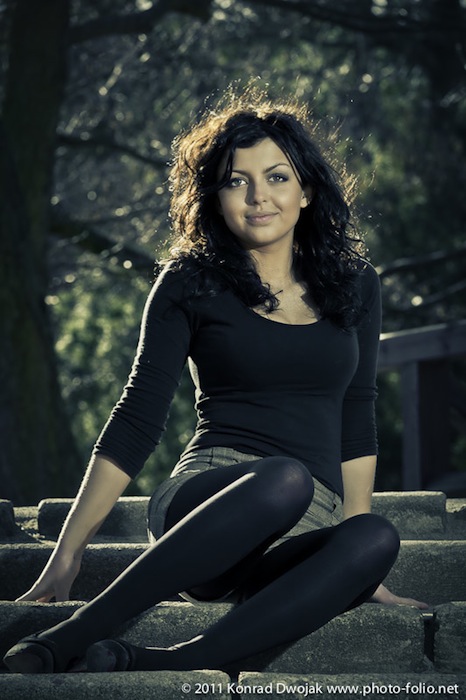
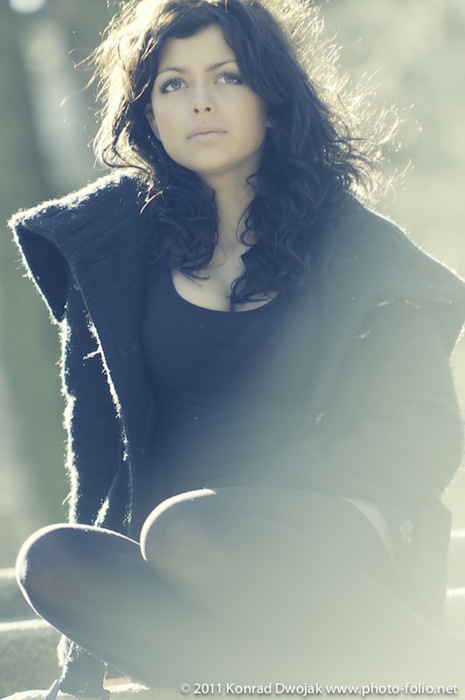
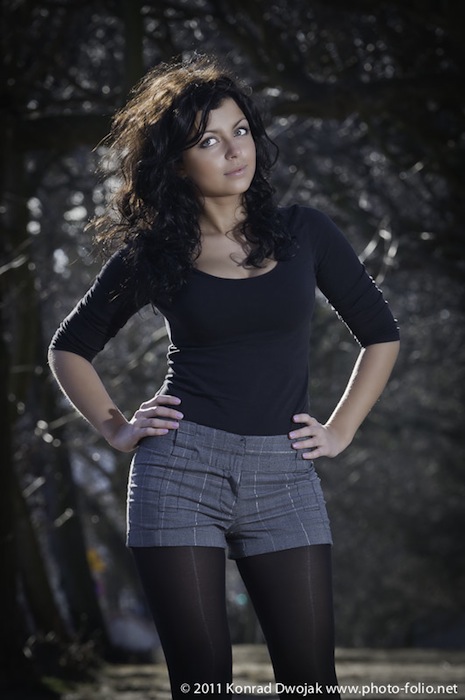
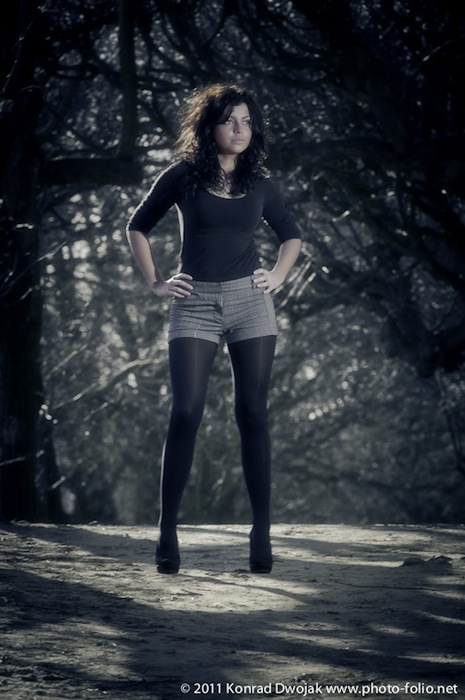
Combining natural and artificial lights
Until only recently I was either using only natural or only artificial light (speedlight or strobes) in one picture at the same time. However, rules are meant to be broken (yes, it was a very weird rule I had to use only one type of light during a shoot) and lately I've been combining and mixing natural and artificial lights. I really like to use one type of light as a hair light and the second as a fill light or as the main light.
natural_articifial_lights_13
natural_articifial_lights_12
natural_articifial_lights_11
I particularly like to use natural light as a hair light for several reasons. Firstly, if I use a speedlight as the main light, then I have much more control over the light, its strength, position and I can apply light modifiers onto the speedlight. Secondly, if I have to shoot at noon when the natural light is not too flattering (yes, sometimes I just had to shoot at noon when it's the only option for a model, a make-up artist and a stylist), using the natural light as the hair-light is the best option. Thirdly, having the sun behind the model and sometimes having it in the frame and then compensating the exposure with the speedlight can give some nice and creative results.
natural_articifial_lights_10
natural_articifial_lights_9
natural_articifial_lights_8
natural_articifial_lights_6
natural_articifial_lights_5
natural_articifial_lights_2
natural_articifial_lights_4
natural_articifial_lights_3

natural_articifial_lights_1

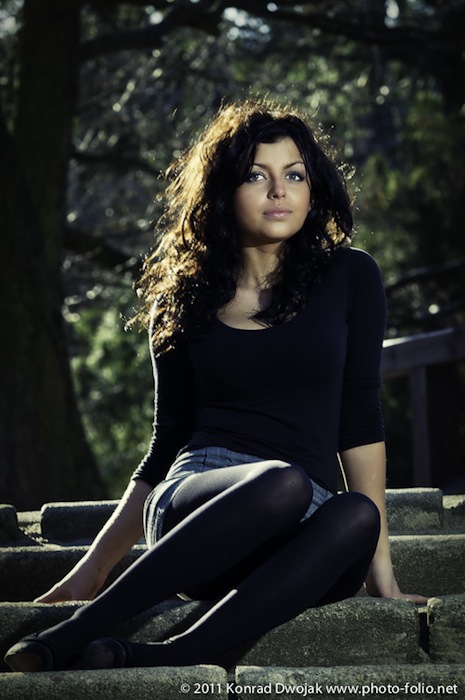
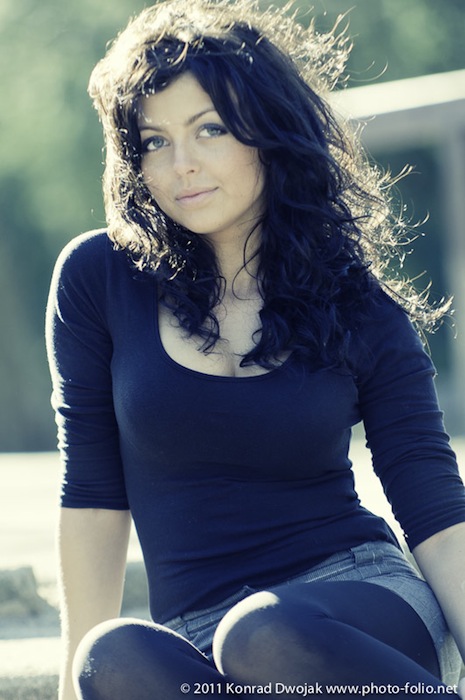
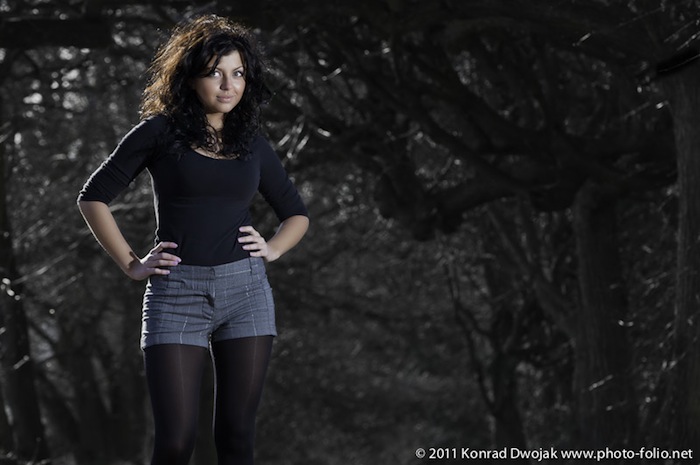
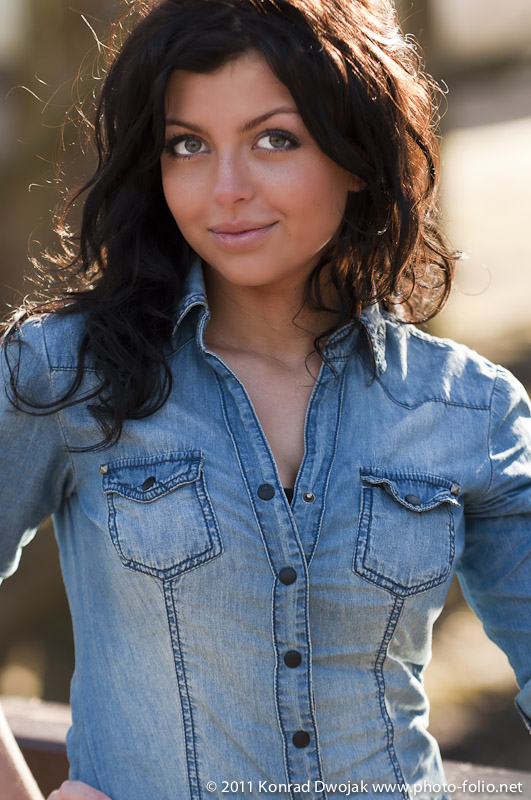
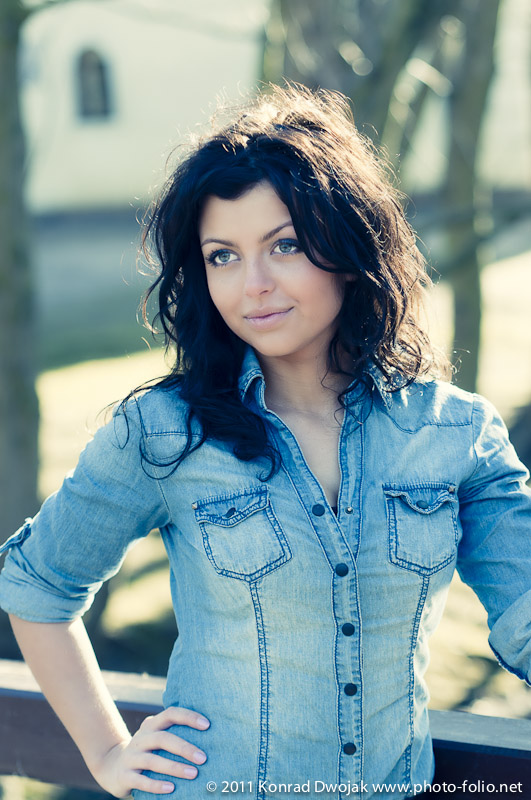
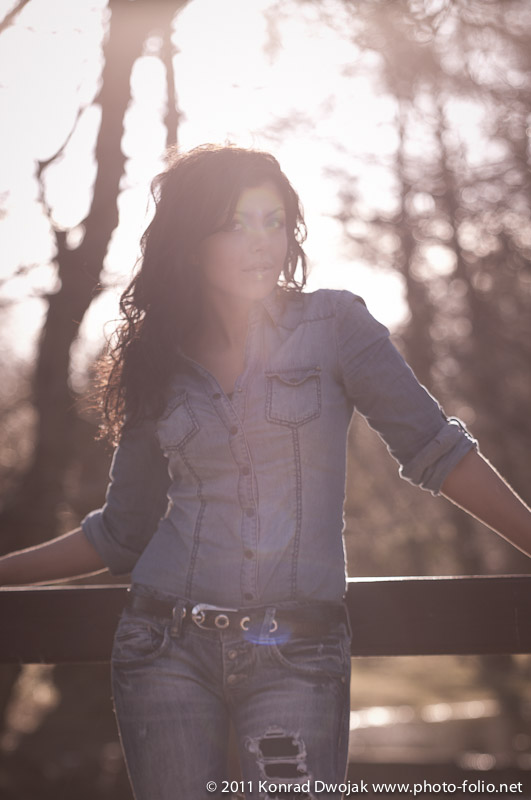
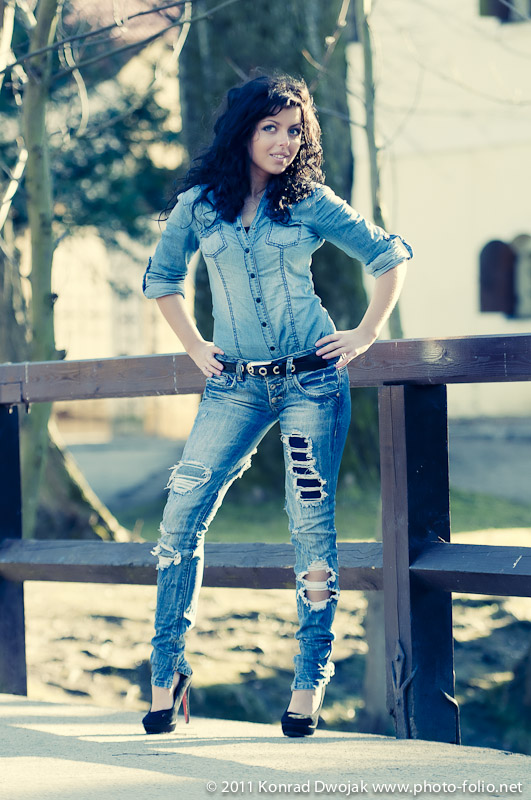
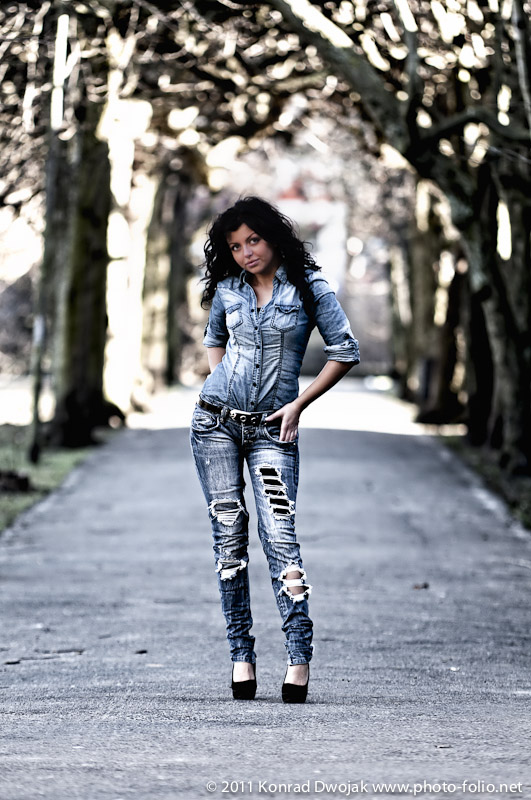
These Jeans Are Made For Wearing
These_jeans_are_made_for_wearing-1
These_jeans_are_made_for_wearing-2

These_jeans_are_made_for_wearing-3
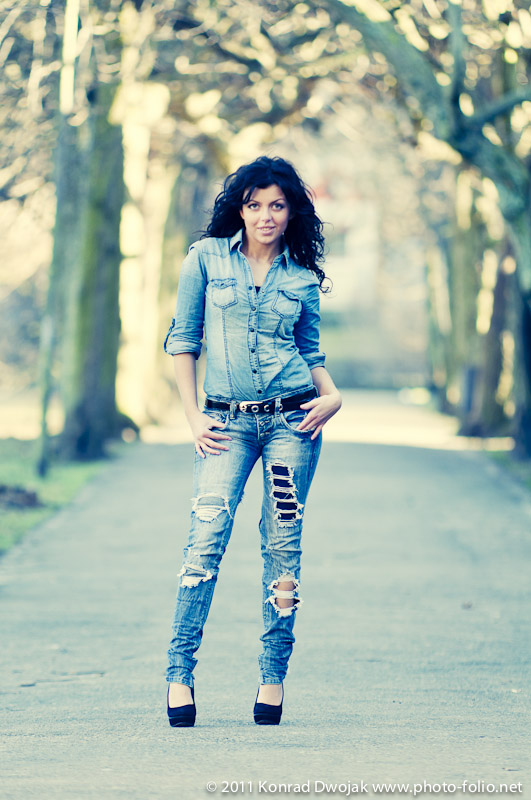
I love 2 things about blue jeans as a photographer: their color and their texture. Most jeans are in a really nice blue color spectrum and temperature, which is nice to look at and doesn't overpower a subject in an image. Add a nice texture to this pleasant blue color and a good-looking model and you'll have a perfect combination for a photo shoot (not to mention you'll also need good light but it's a different story).
These_jeans_are_made_for_wearing-4
These_jeans_are_made_for_wearing-6
These_jeans_are_made_for_wearing-7
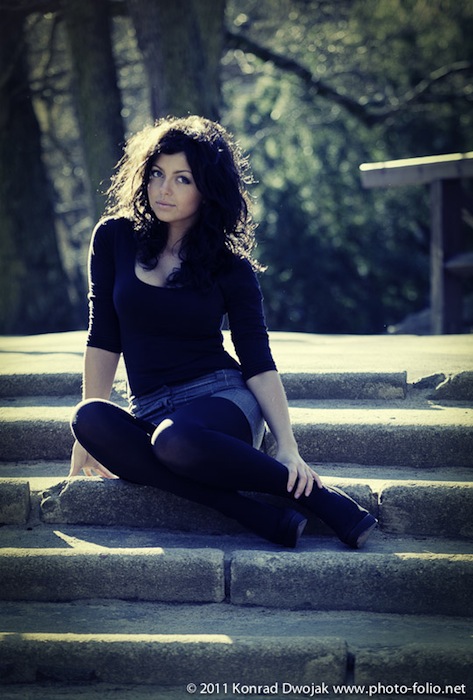
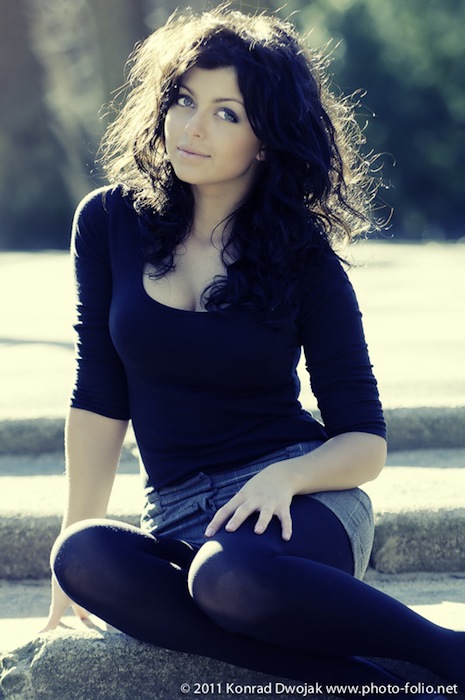
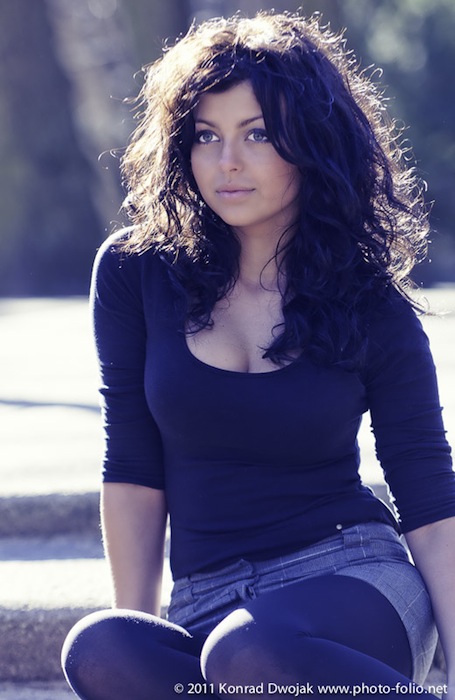
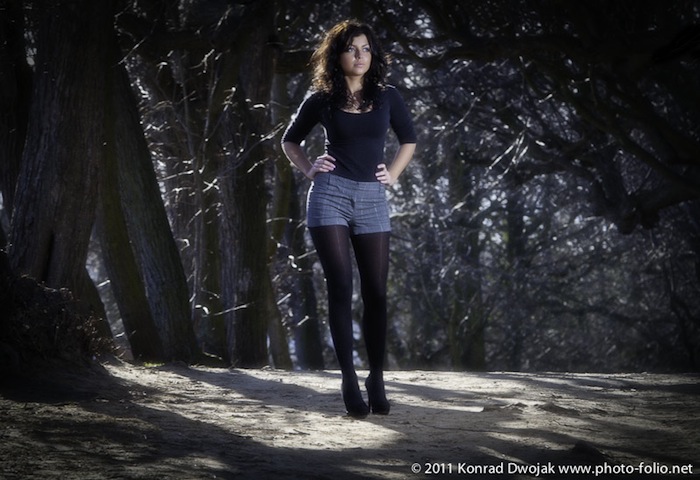
I had few photo shoots during my recent stay in (Gdansk) Poland in March and I asked Diana to be my model for a spontaneous photo shoot in the Oliwski Parc in Gdansk. We had a really nice weather, a bit cold but sunny. Although we met at around 2pm when the sunlight was still harsh, there was a lot of shadow from the trees and bushes which I used in order to get nice soft light on her face. I also used the sunlight as a hair-light. To my surprise, Diana had with her a couple of outfits and after about an hour shooting she told me she had a jeans outfit (jeans trousers and jeans shirt).
These_jeans_are_made_for_wearing-9
These_jeans_are_made_for_wearing-11
These_jeans_are_made_for_wearing-13
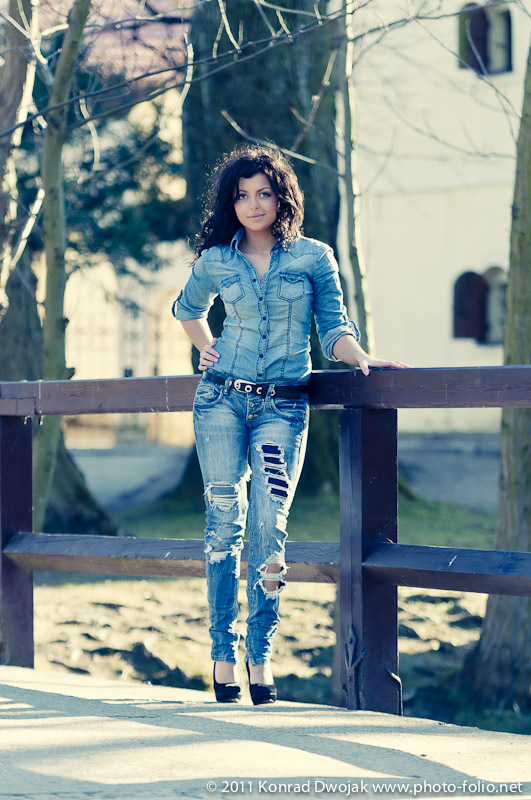
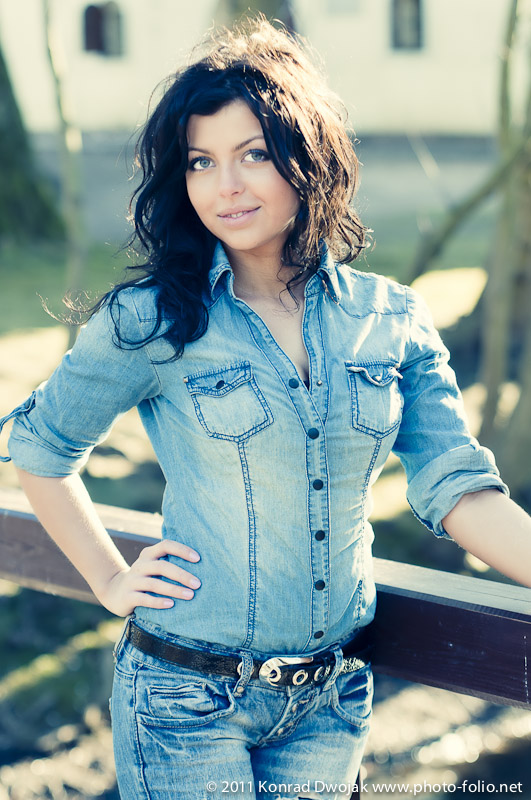
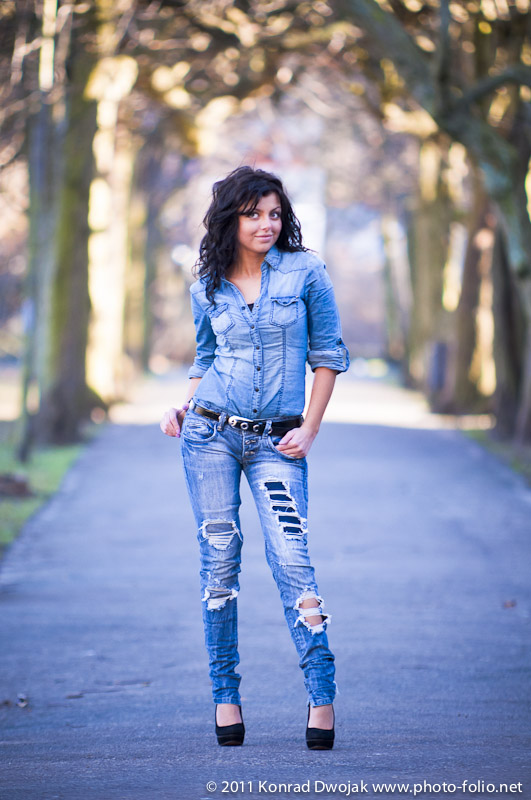
We both like it so much that we decided to do the rest of the photo shoot in the jeans and I think it was a perfect decision. I particularly like how the colors of the jeans (both of the trousers and the shirt) and their texture fit into the bright light and spring feeling of the pictures. What do you think? I think these jeans are made for wearing ... especially in spring :)
These_jeans_are_made_for_wearing-14

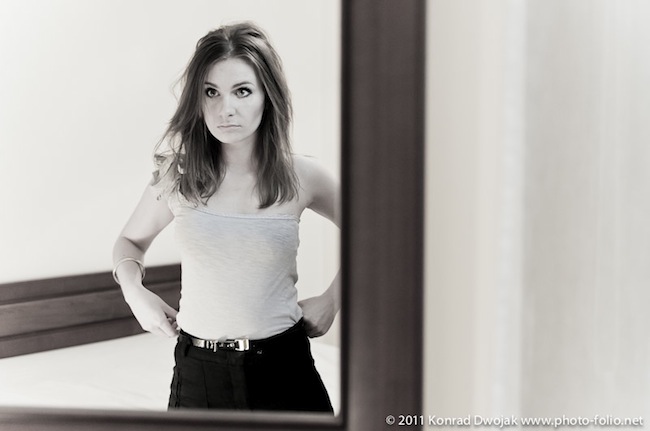
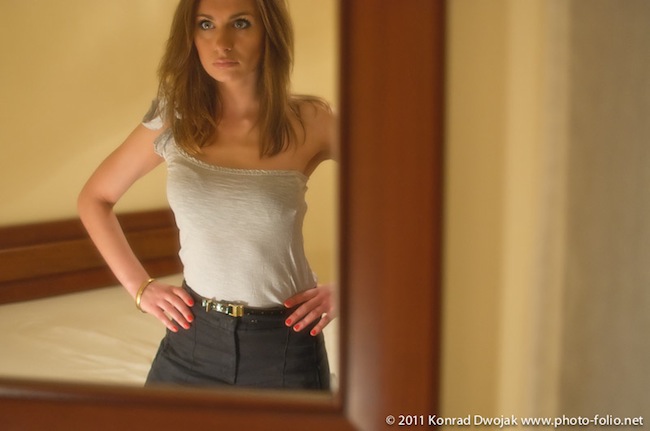
Using a mirror to frame a subject
Until just recently, whenever someone talked about pictures of a person taken in a mirror, I only associated this kind of pictures with Facebook profile pictures of teenagers (I think you know about what kind of picture I talk about). But I have discovered the great advantage of mirrors during my recent photo shoot in Poland - mirrors are great to frame a subject. There are other ways to frame a subject, for example with door frames, windows, trees, etc. but I never used a mirror to frame a subject before.
agata-11
Using a mirror to frame a subject can be a bit tricky and difficult when you use strobes and/or speedlights because these additional light sources can create reflections in a mirror and light spots. Therefore, you should be careful when using lights for these kind of shots - a quick tip: first get your model or subject in a right position and take a test pictures to see what is visible in a mirror, then position your lights so that they are not visible in a mirror and are out of the mirror's frame.
agata-10
Another thing is that any lines (within mirror's frame or any other lines) can be used to define a picture or a subject. Lines or even patterns can be very helpful in drawing the attention of a viewer to the subject in the picture or separate the subject from the rest of what is in a frame. Next time you'll be taking pictures, take a close look at any patterns or lines either in the foreground or in the background, try to change your position or reposition your subject to use these lines.

Take a camera everywhere you go, even bowling ...
You'll hear that every time you talk with a photographer: "Take a camera everywhere you go". I have mentioned that already a couple of times on my blog already but I'll add something this time. Therefore, "take a camera everywhere you go, EVEN BOWLING!".
But seriously, the whole fuzz around taking a camera everywhere you go is really about 2 things:
1) you don't know when & where to expect a great opportunity for a picture and having a camera with you (almost) all the time makes you ready for taking that great and unexpected shot;
2) practice makes perfect - it's a no brainer; the more pictures you take, the better photographer you become.
I went bowling in Brussels with a group of friends a couple of weeks ago and I took a camera with me (surprise, surprise!). To be honest with you, I didn't expect to take any pictures but I ended up taking few shots with my trusty Nikkor 35mm F1.8 DX, which is a great lens for low-light situations. Even though Nikkor 35mm F1.8 DX is a very bright lens, I still had to crank up ISO to get more or less sharp shots but I also spent some time on getting blurry & motion-like pictures.

Belgian Geeks Photo Shoot: Knight Wise & Niejana (video)
I would like to share with you a slideshow video (click the picture above) from the pictures taken during the Belgian Geeks Photo Shoot with Niejana and Knight Wise - a Belgian geeky and very cool couple. If you follow the blog, you probably saw some of their pictures in my previous post Improvising a Photo Shoot on Location.
In case you prefer to watch it directly on: Youtube.com (click) or Vimeo.com (and click).
Visit Niejana and Knight Wise's website www.knightwise.com

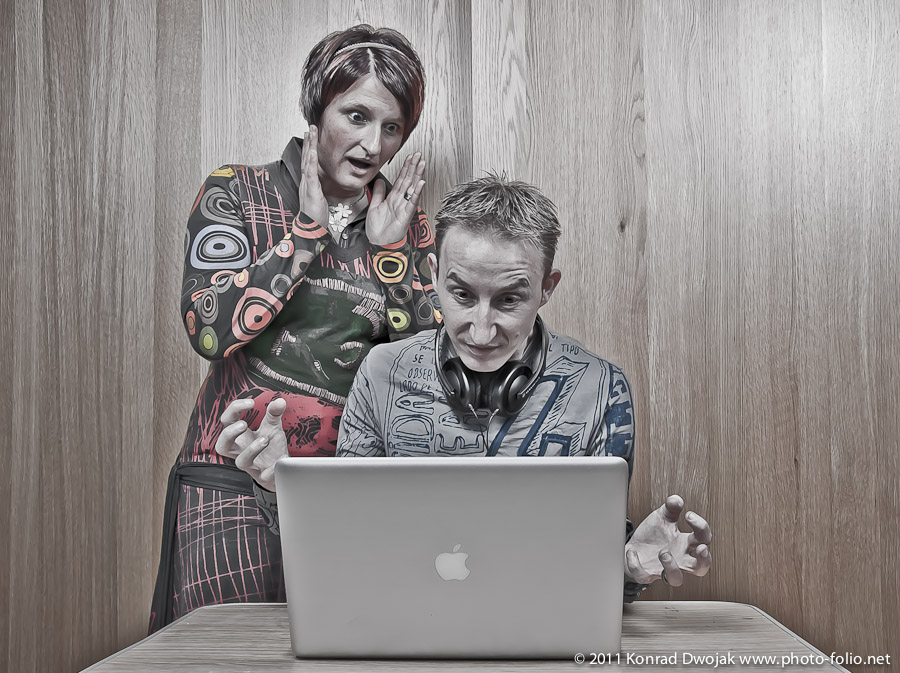
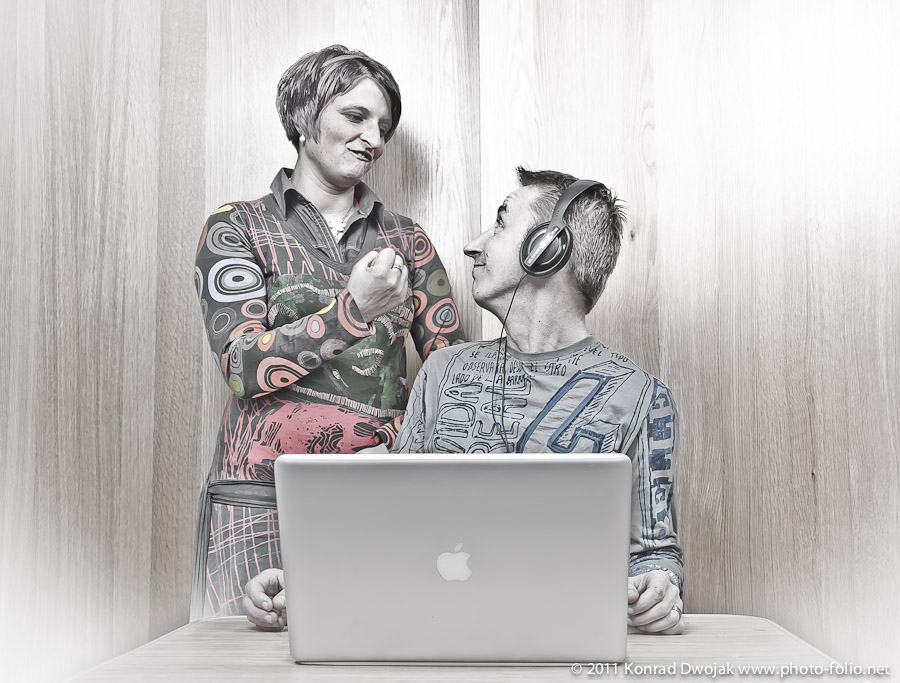
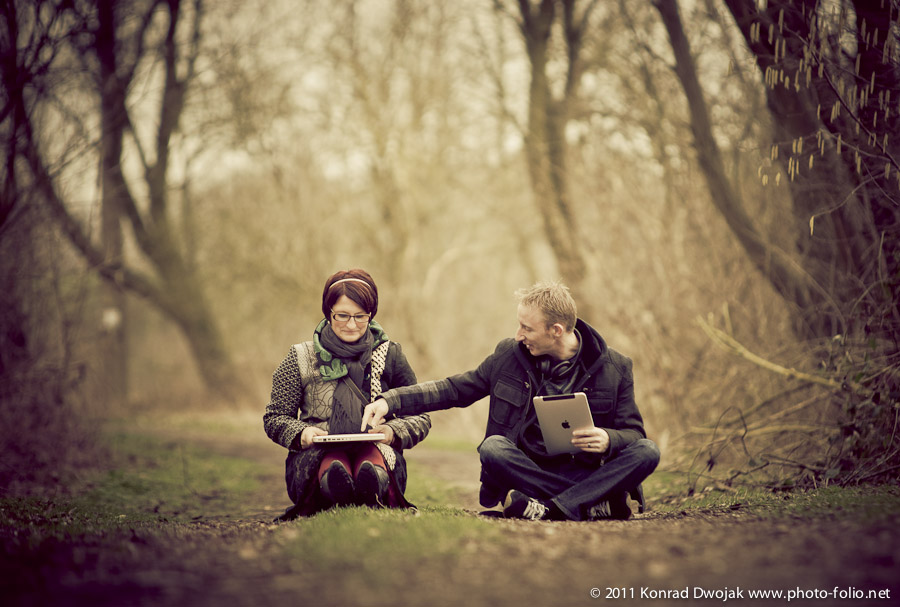
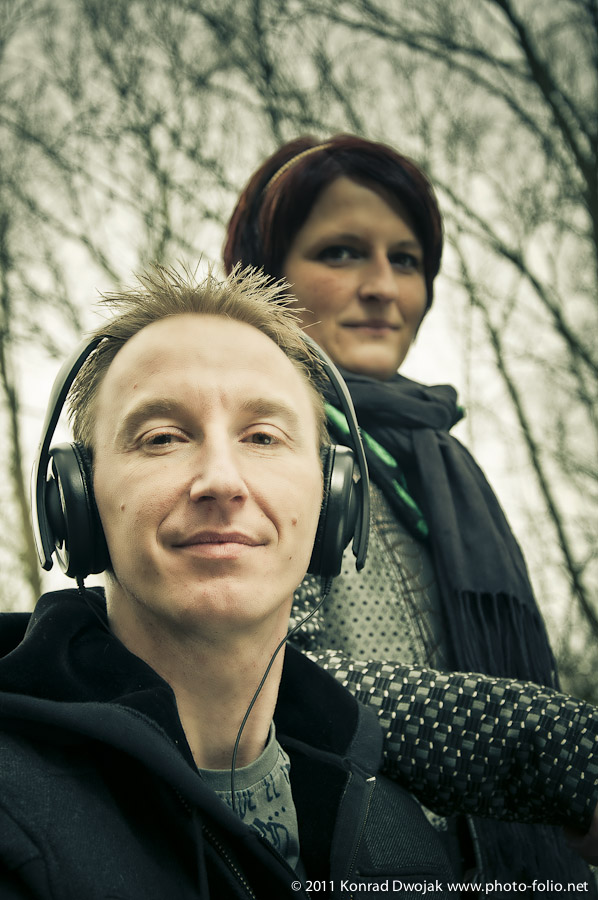
Improvising a photo shoot on location
I love working with people, professional or aspiring models, people who want their portraits taken, people who look for specific type of photography for their businesses, commercial or promotional purposes. However, it's not always possible to prepare some of these photo shoots and often it's necessary to improvise... actually you can never be confident that you're 100% prepared for a photo shoot as a photographer. There are almost always unexpected things happening: bad weather, people not showing up or showing up late limiting your time for a shoot, location turning out different than you expected, etc (the list can continue forever).
improvising_photo_shoot_knight_wise-38
improvising_photo_shoot_knight_wise-36
improvising_photo_shoot_knight_wise-26
improvising_photo_shoot_knight_wise-22
You can't be prepared for these unexpected circumstances (quite obviously they're unexpected) and you have to be ready to improvise - being able and ready to improvise during a photo shoot is a must and actually it's the only thing you can be sure of and control before a photo shoot. Just to make it clear: you can't go for a photo shoot completely unprepared thinking that you can improvise everything but you need to be ready to improvise when needed, let your creativity unleash and just 'expect unexpected' as I say.
improvising_photo_shoot_knight_wise-19
improvising_photo_shoot_knight_wise-18

improvising_photo_shoot_knight_wise-17
improvising_photo_shoot_knight_wise-15
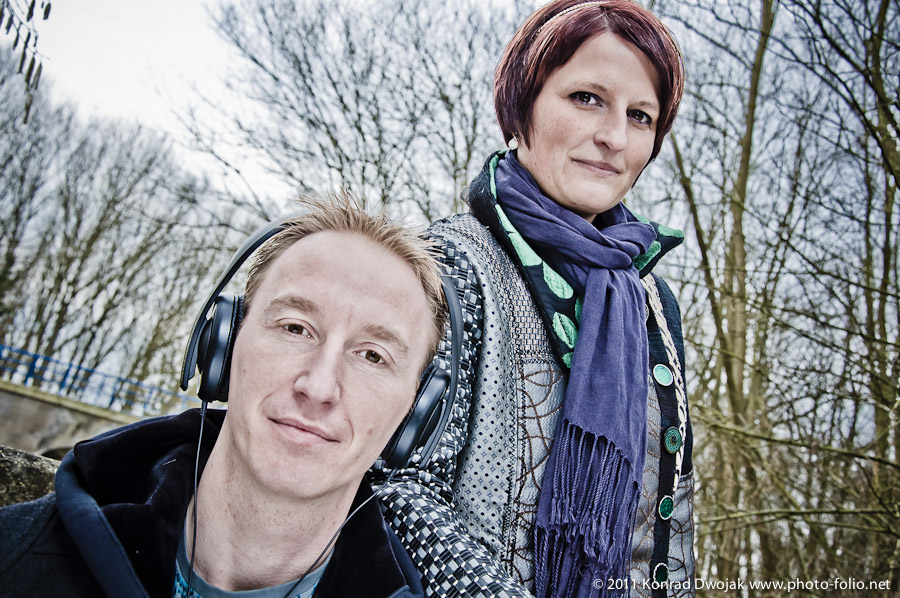
I had a photo shoot, during which I had to improvise, a couple of weeks ago in February 2011. I met with Knight Wise and Niejana of KnightWise.com - I refer to both of them as THE Belgian Geeks :). Knight Wise and Niejana are a really awesome couple from Belgium who are not only into technology but also into Starwars, podcasting, videocasting and all the geeky stuff (honestly, I'm not sure what I'm talking here about because I'm not a typical geek... I'm just a photography geek). Anyway, going back to the topic, I met with them in Tongeren (Belgium) (which was also my first time in Tongeren) and I had no idea what to expect - we didn't have a fixed photo shoot location and their house turned out a bit too small for a photo shoot.
improvising_photo_shoot_knight_wise-14

improvising_photo_shoot_knight_wise-6
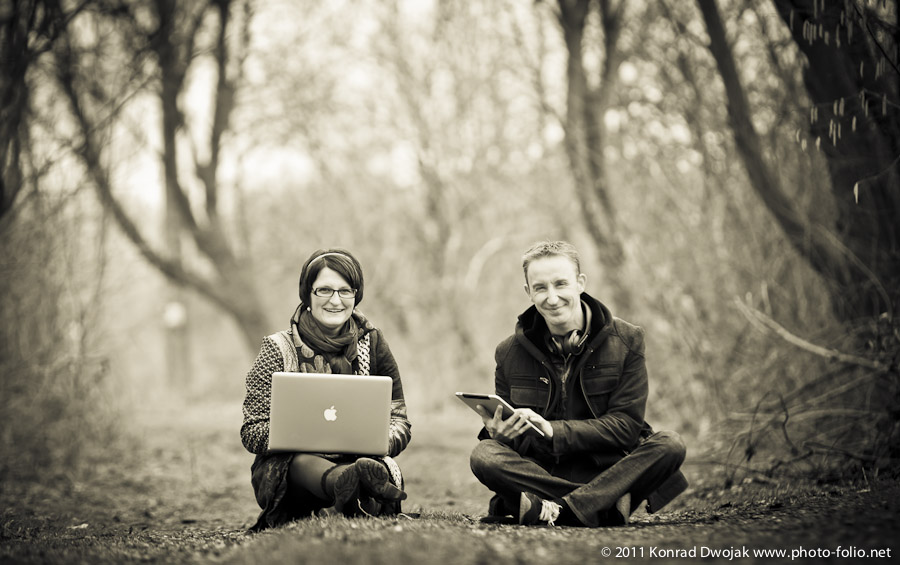
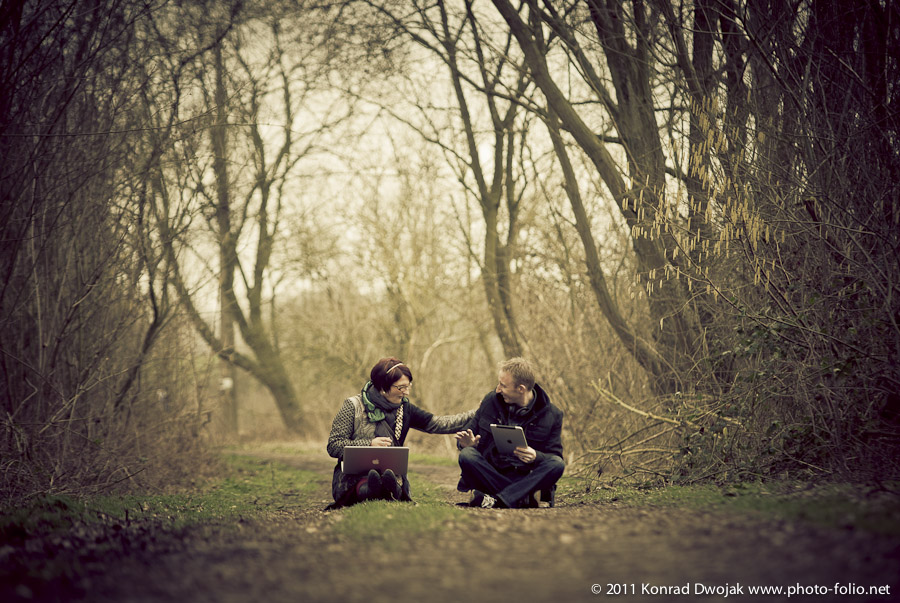
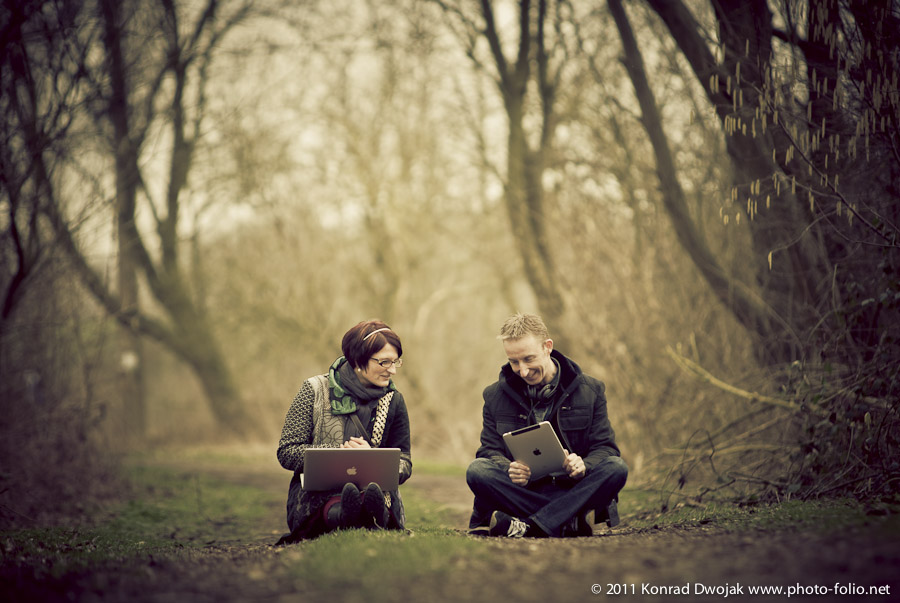
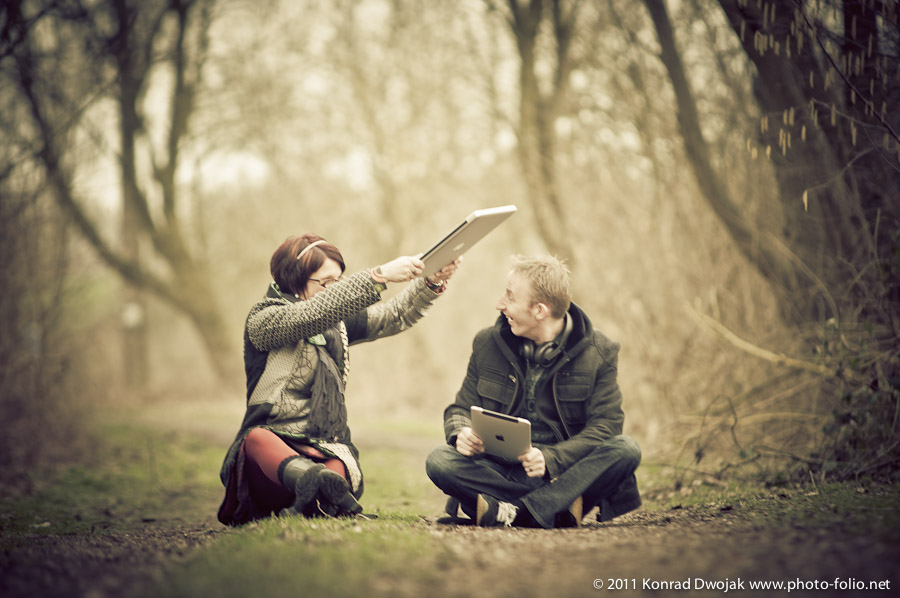
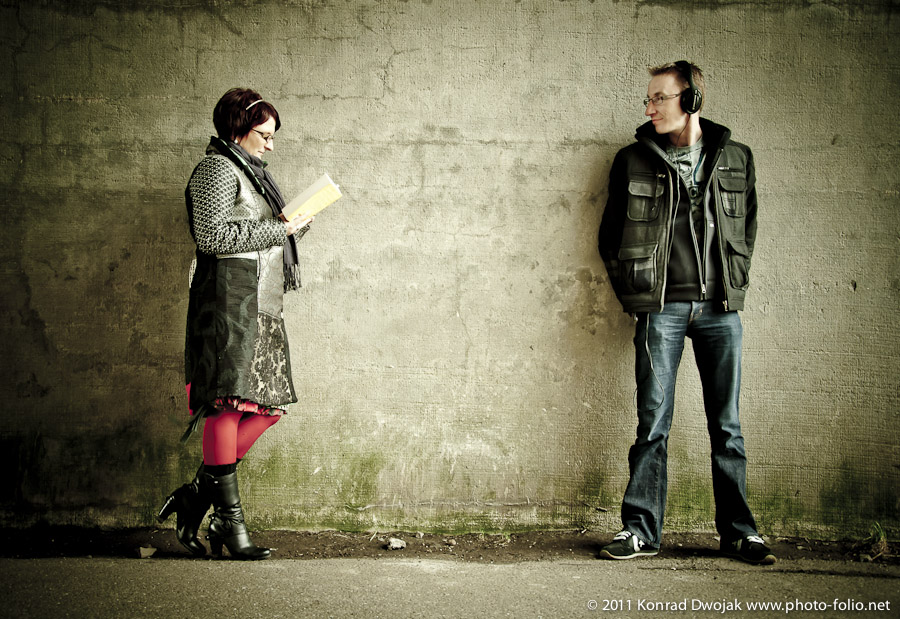
The only option was to improvise, especially when I decided to start off with a photo shoot outside at a countryside. Knight Wise and Niejana took me to a nearby popular park, just outside of a city and I immediately started to look around for interesting places, foregrounds, backgrounds and patterns... anything that would be interesting and supplementary for portrait photography. I don't think I have to mention that I tried to take the pictures of Knight Wise and Niejana around the theme of the 'Belgian Geeks'. They mentioned to me during the photo shoot that they even didn't have their engagement photo shoot before they had the wedding few years ago. So I decided to use this opportunity to shoot few engagement / couple / love pictures. At some point, I just asked them to sit on the ground and I let them interact with each other - it turned out great and I learned one important thing: Geek love is tough love (look at the picture where Niejana hits Knight Wise with a very robust and expensive laptop) :)

improvising_photo_shoot_knight_wise-29
improvising_photo_shoot_knight_wise-24

improvising_photo_shoot_knight_wise-13
improvising_photo_shoot_knight_wise-7
Strobist info for some of the pictures: I used a combination of Nikon's SB-900 Speedlight on a shoot-through umbrella and sometimes I also used a light-reflector for pictures taken outside (but I also tried to use as much natural light as possible, something just modifying it slightly with a light-reflector. For indoor pictures, I used 2 Lastolite Lumen F400 lamps with shoo-through umbrellas as well.

Pen Tablet - an essential tool for post-processing
Little I knew about pen tablets, not to mention how useful they are, when I was starting my adventure with photography few years ago. A pen tablet seemed to me as an unnecessary tool at that time, which was used only by very (emphasis on VERY) professional photographers and graphic designer only - and oh boy, how much could I be wrong. I underestimated the value of a pen tablet for my post-processing job and photography workflow that I can't believe I did when I think back to those times when I didn't use one. I got my pen tablet from Wacom over a year ago and it's been an integral part of my workflow ever since.
Yes, pen tablets can be quite expensive but you'll start to value their functionality very quickly. The time I spend on post-processing has dramatically decreased with a pen table by at least 50% and it's not an exaggeration by any means. Editing pictures with a pen tablet is not only much faster but it also feels much more natural than using a mouse and it's much better for your arm and joints than sitting with your hand grabbing that unergonomic mouse all the time (which can also be painful and cause Repetitive Strain Injury [RSI]). If you already have started considering getting a pen tablet, you don't have to buy a very expensive one, high-end from the top of a shelf. Wacom produces very good pen tablets and even their cheapest and simplest tablets are great to start off with.